Flowmie Decals - FREE US SHIPPING
Flowmie Decals - FREE US SHIPPING
VINYL STICKER DECALS FOR MY FLOWMIES!!!
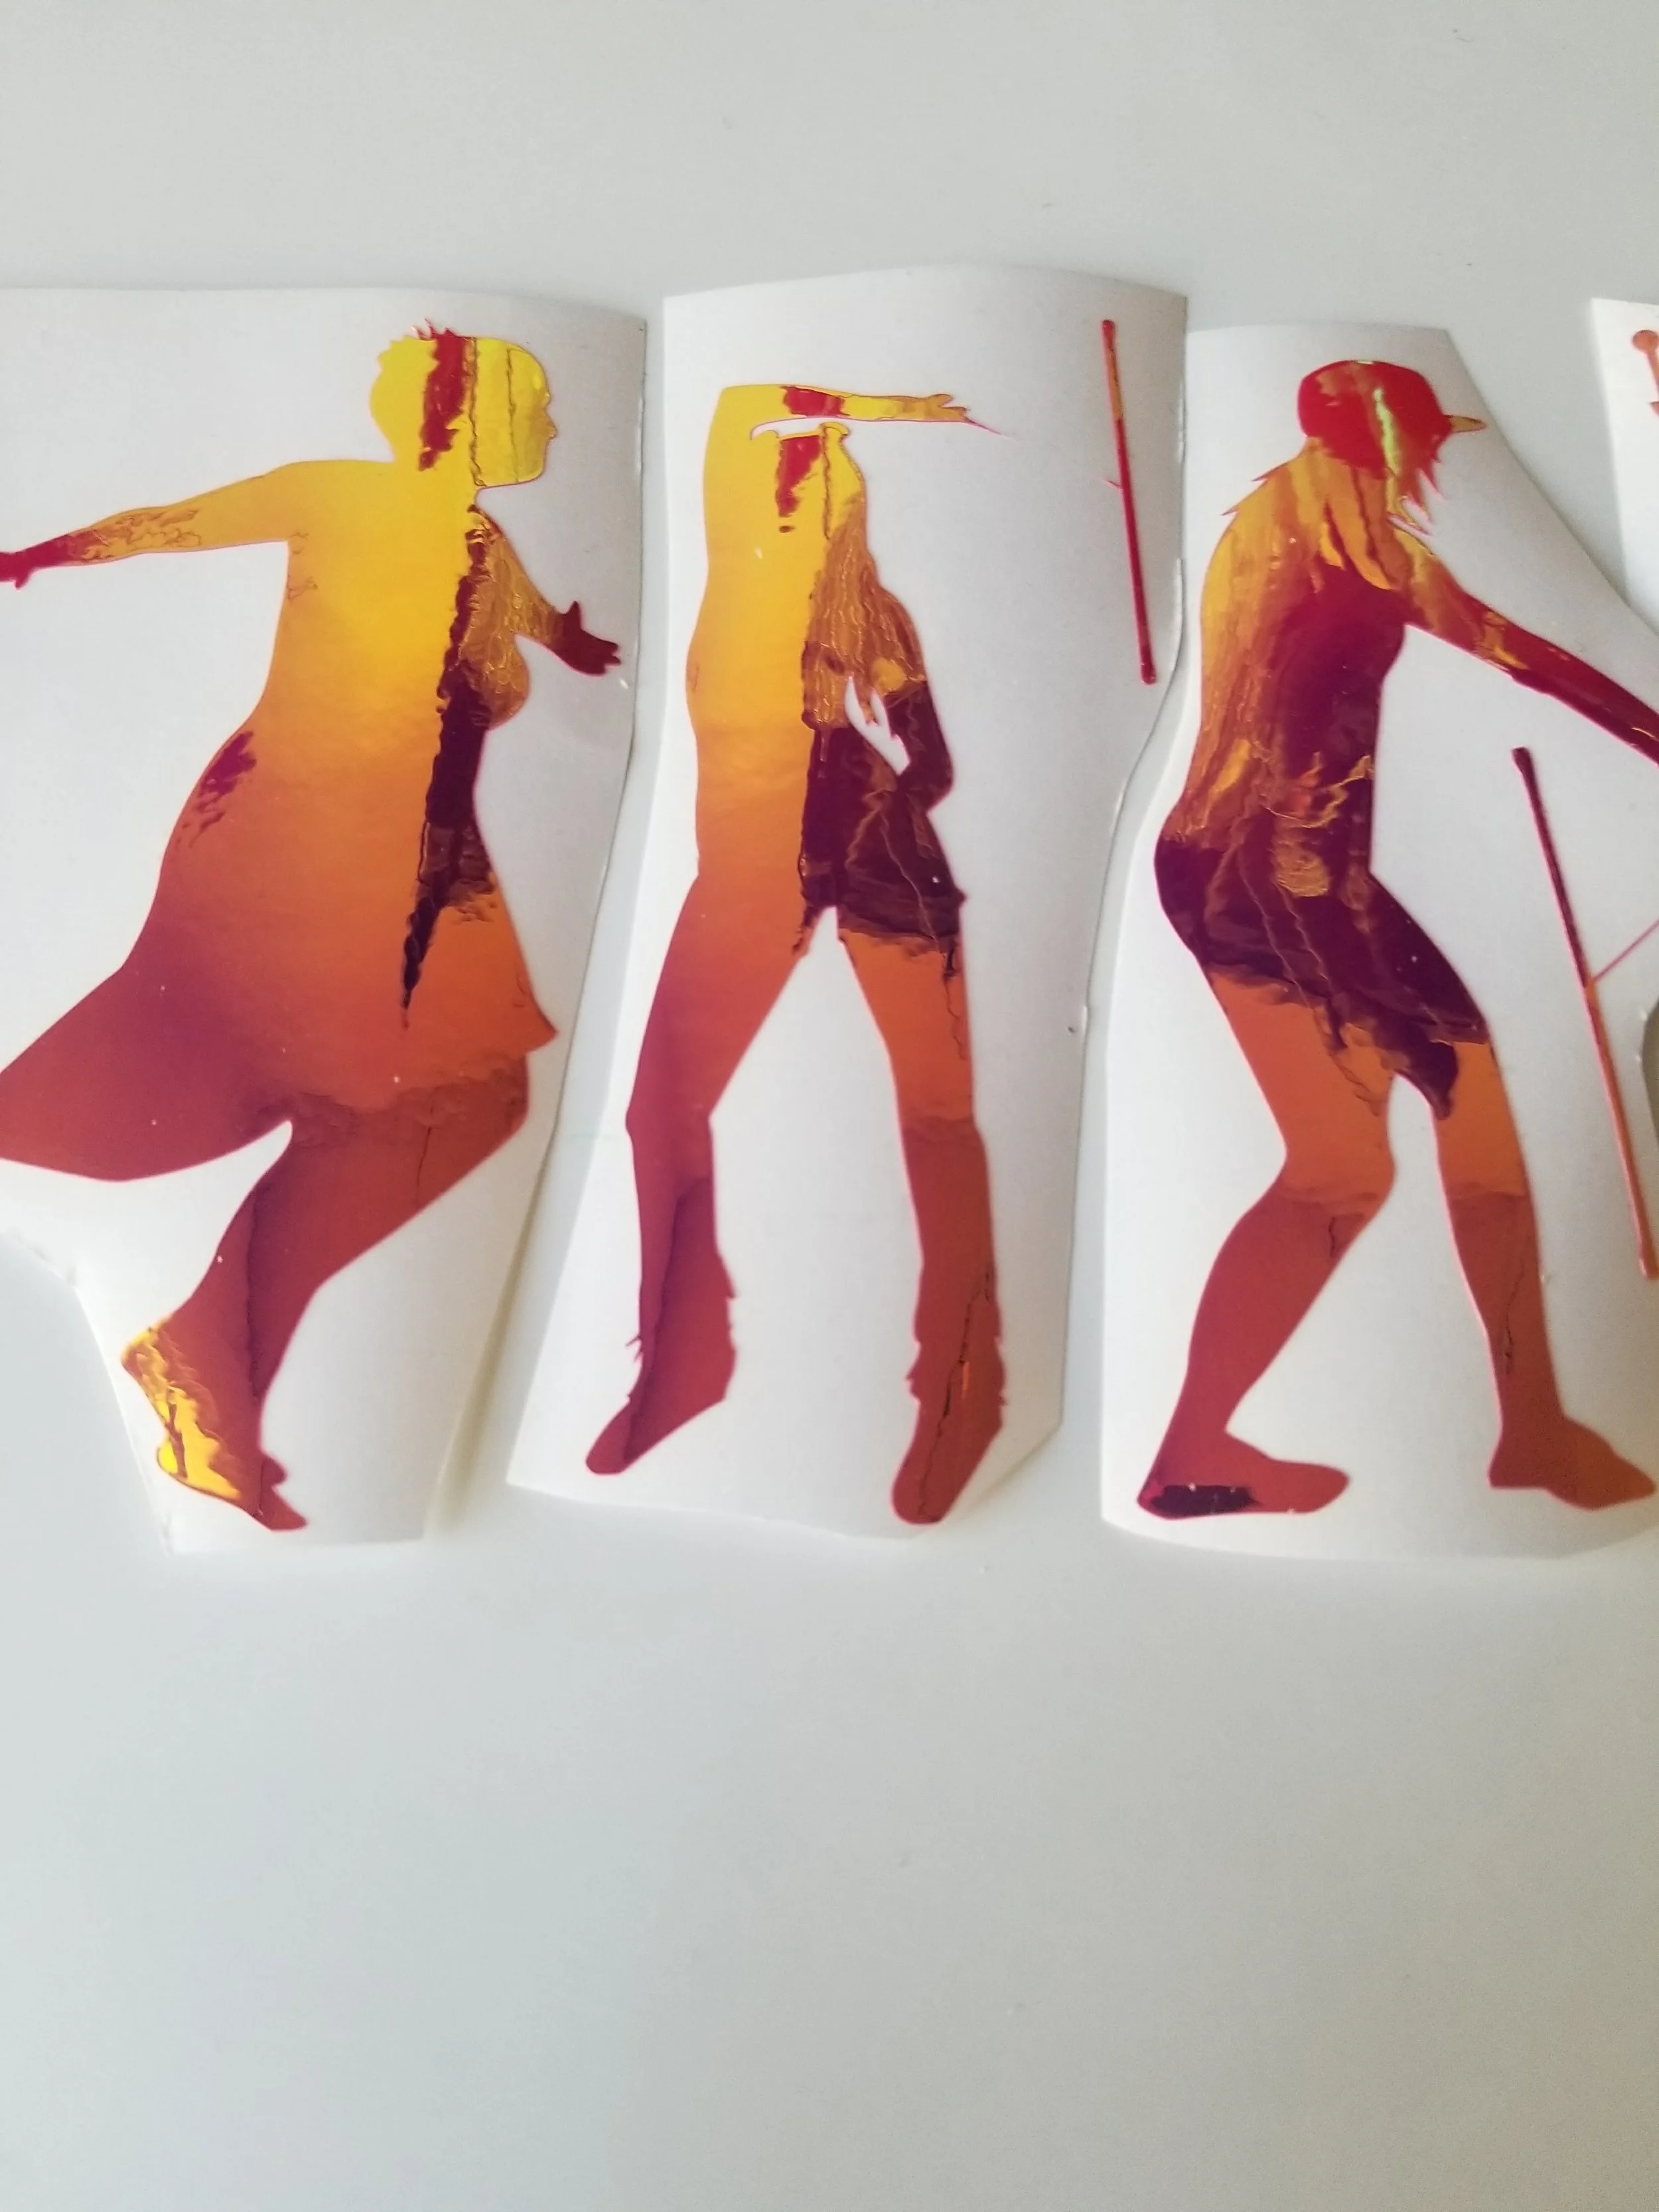
I designed these vinyl decals based off some of my lovely Sponsored Artists so that you have a bunch of different beautiful ones to choose from. Decals will not come with any name on the design.
NEW DECAL available featuring my buugeng friend Jason aka @Cinderfellaa!
Winners of my #DerpGearDecal contest:
@ThomasRobinsonFire (Original photo credit to @FlowPyre)
The decal will be about 5-6 inches as the longest dimension.
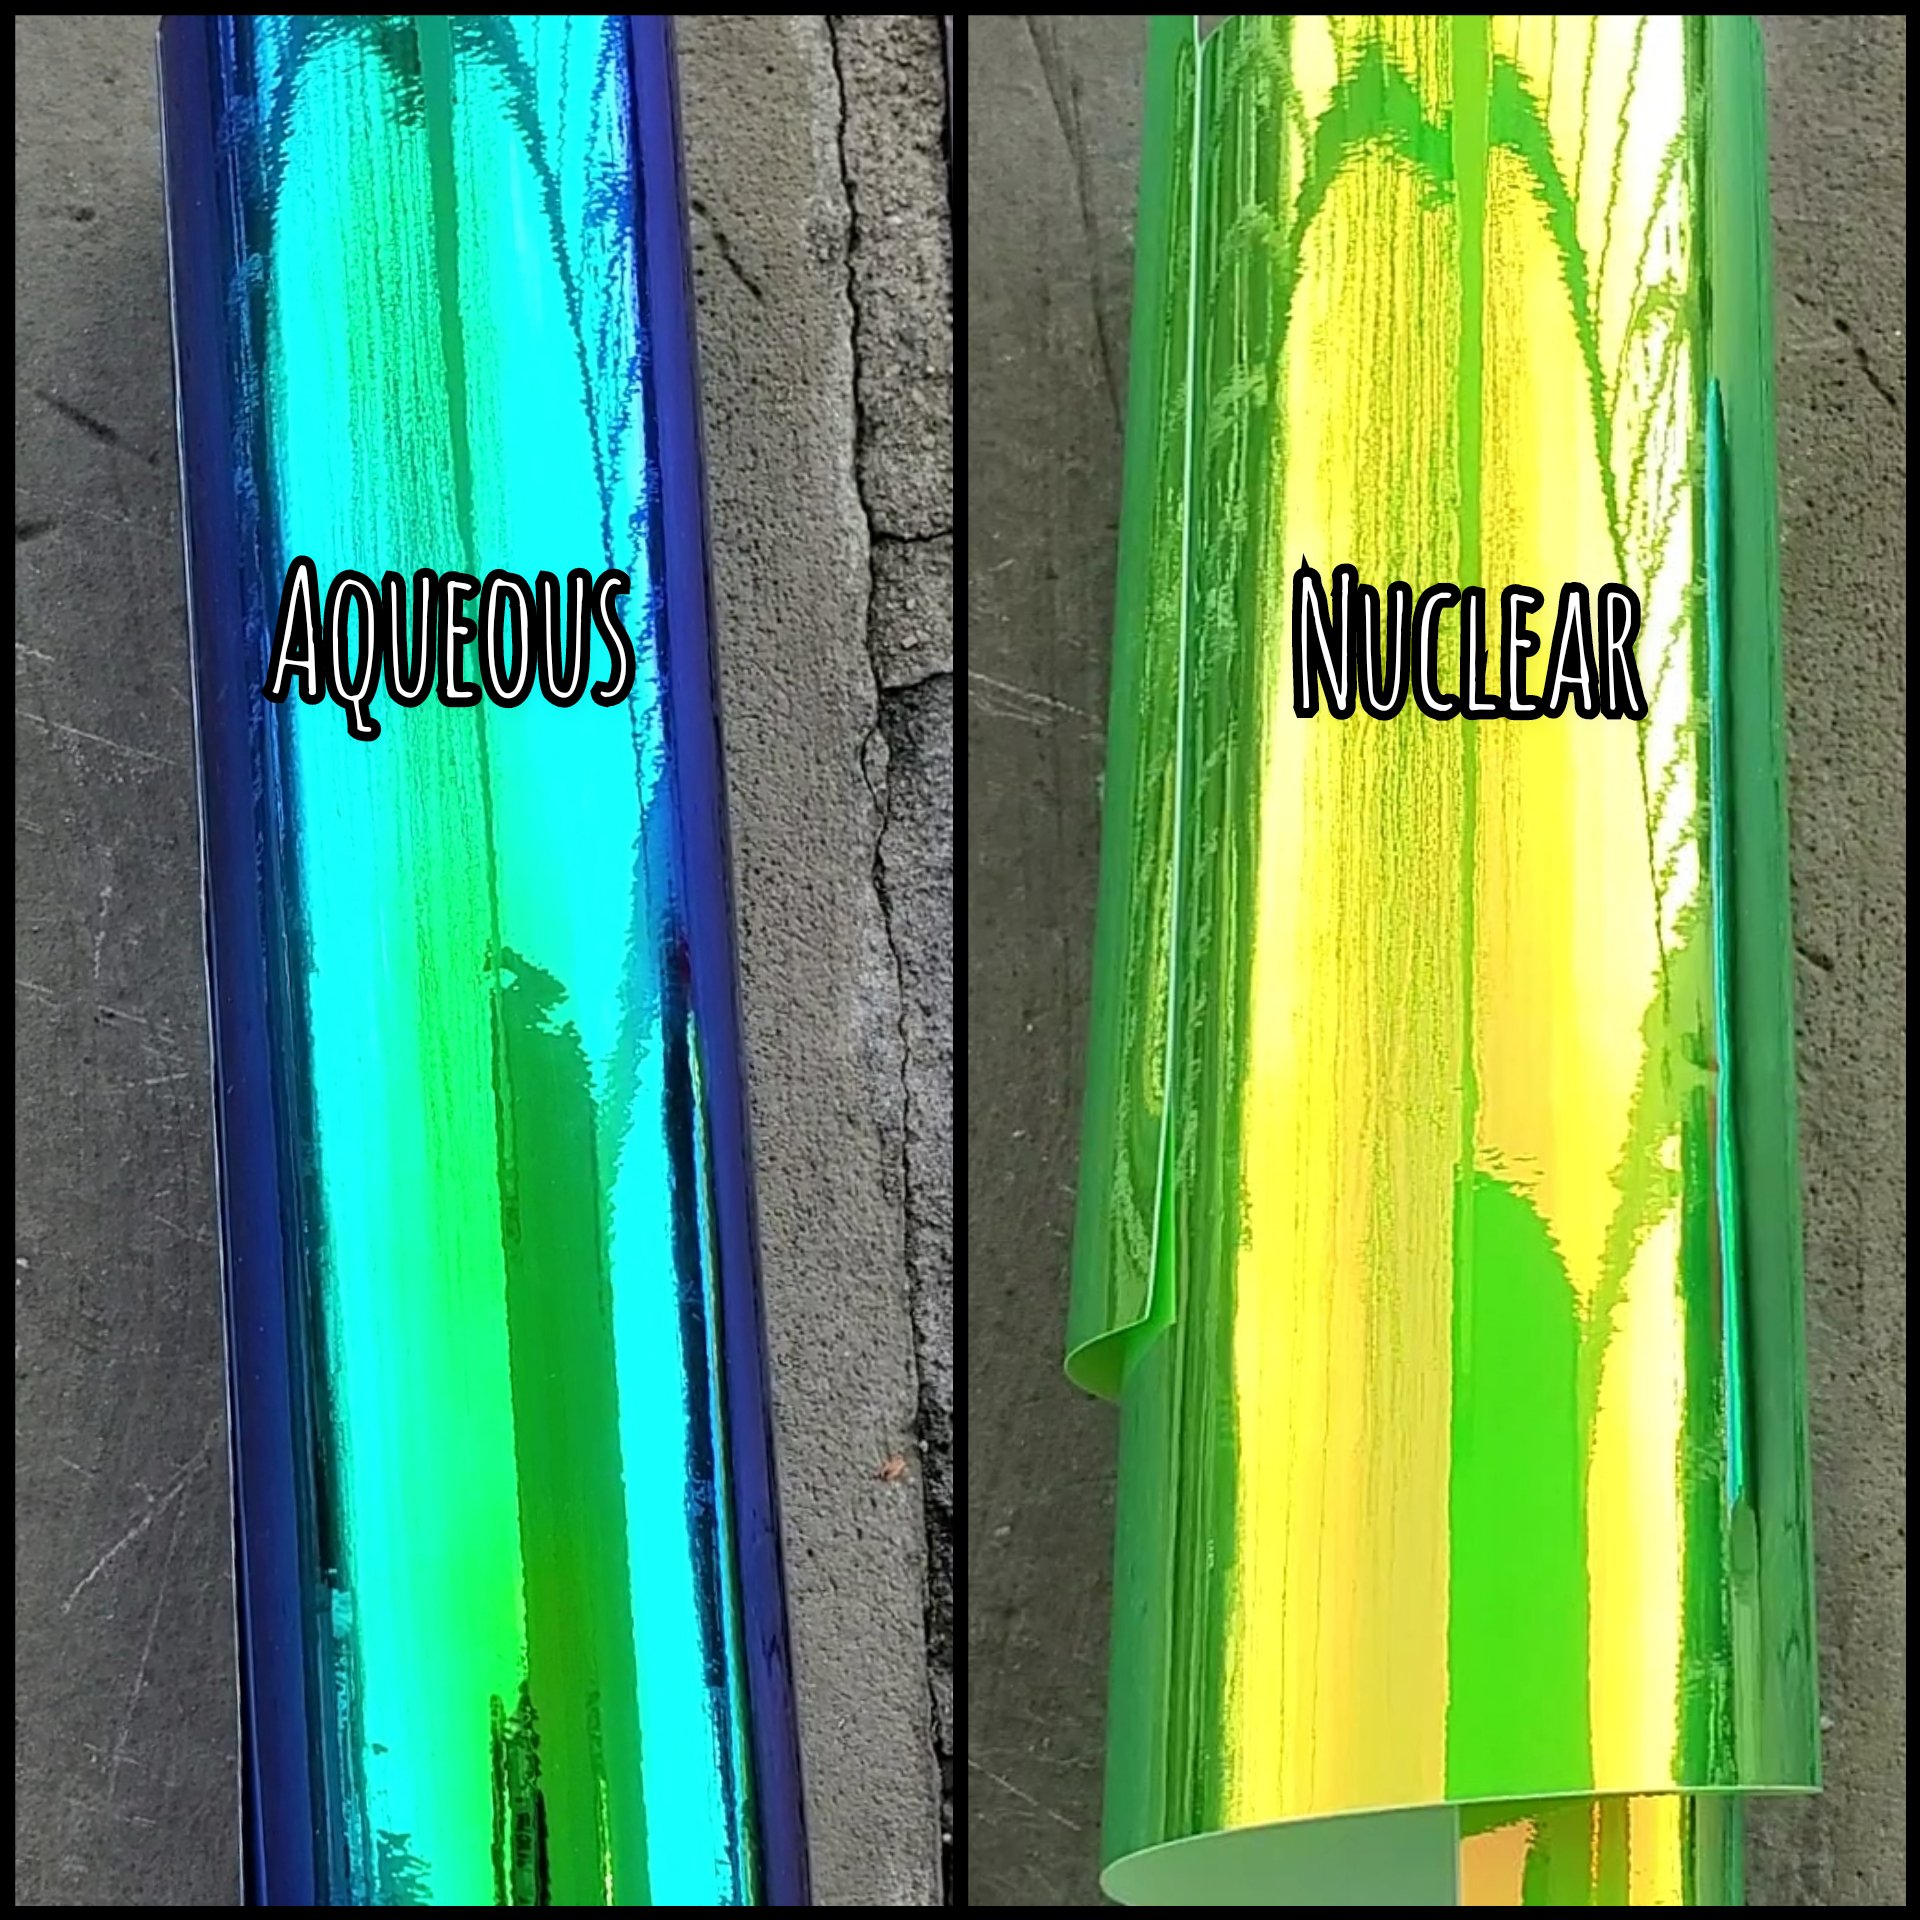
Three different holographic themes to choose from (including Whimsy and Jellyfish Wiggle, YESSS they match the wand tapes!):
Whimsy
Jellyfish Wiggle
Heatwave
Where can you put your new vinyl decal?!?!
Laptops, Tablets, Notebooks...
Vehicles, glass, plastic...
These will stick to MOST smooth surfaces, and last a long time.
Shipping is FREE if you are in the US and for international customers already paying to ship something.
If you are International and just want to grab a decal, please contact me about shipping costs.
Read below for application instructions (you will also receive these with your new decals).
How to apply your decal:
1. Wash the surface that you will be putting the decal on. Windex works well, but make sure it is completely dry before Step 2.
2. Peel the paper off the back of the sticker and set into place. Grab your ID or credit card use it to rub over the sticker/plastic layer to make sure it sticks to the surface, there are no bubbles, and un-attaches itself from the top clear layer. (I suggest grabbing a sock or something to wrap around the card while rubbing it down to prevent scratching the decal).
3. Slowly peel the clear sheet off of the decal, but go slow and be gentle. If some of the sticker isn't adhered to your surface, simply place it all back down, apply more card pressure, and try again.
The wand string is very fragile, so when I say go slow and be gentle...I mean itttttt. You've got this!!!!!!!
(This sounds a lot more complicated than it really is, but following these instructions will make sure the decal looks great and stays that way for a while to come).


